Editing Filler
When the customer sets a base, wall or high cabinet to a distance less than 200mm from the wall and there is no cabinet in the catalog which width could be compatible with this empty space, the gap between the wall and the side of the cabinet is automatically hidden by a filler. Fillers are products similar to cover panels in color and material.
The customer can also add fillers manually if there are available as freestanding products in the catalog.
Any modification on the filler must be prepared beforehand by the Range Manager to ensure the expected behavior.
➡️ See Set Up Fillers 🔗 or Set Up Fillers through API 🔗 for detailed information on this preparating work.
Basic Actions and Options
Fillers are made of a transparent box and a front piece. They are added either automatically or manually. The customer can handle them like any other product (move horizontally and vertically and rotate) and edit them via the Edit panel of the filler.
Add an Automatic Filler
⚙️ Set up: Dimensions, 'fillerPiece' and 'isAuto' parameters on the product, 'autoFillerOption' parameter on the cabinet
Some catalog can contain small width furniture that adapt to a 200 mm empty space.
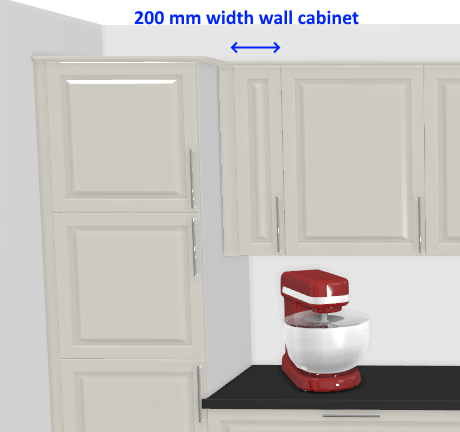
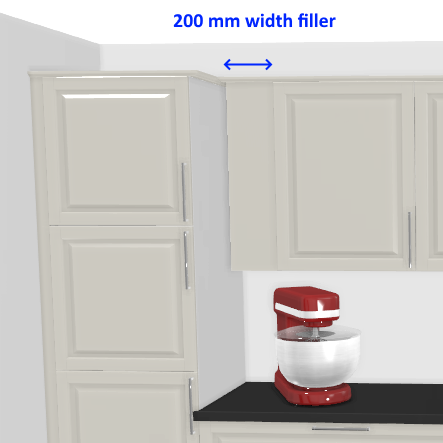
If not, or for spaces less than 200 mm a filler is added automatically if the 'autoFillerOption' parameter is set to true on the cabinet.
Add a Filler Manually
If a more precise definition is needed, the customer can insert a manual filler strip from the catalog by clicking the Search icon. Because of its transparent box, it is considered by the planner as a freestanding product similar to a cabinet and is editable by the customer via its Edit panel.
It is recommended to create as many different filler product as there are different cabinet types:
- Base cabinet filler
- Base corner cabinet filler
- High cabinet filler
- Wall cabinet filler
- Wall corner cabinet filler
- Ceiling fillers
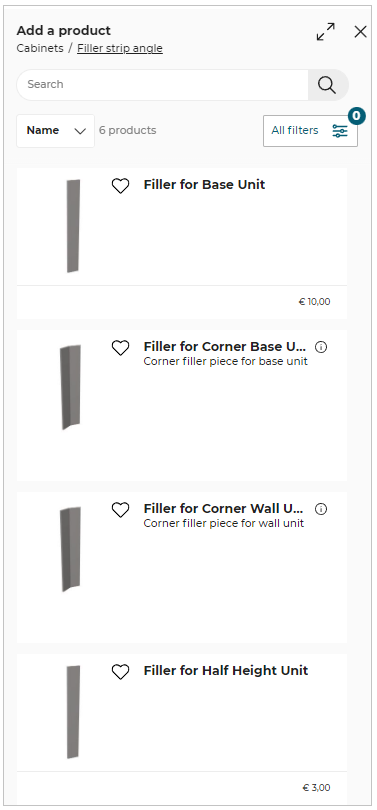
You can also add the Filler in the room by drag and drop them from the catalog.
Edit a Filler
⚙️ Set up: All the Option parameters🔗 corresponding to each type of filler.
These product have different sizes and parameters to adapt to any situation. If the [corresponding parameters are set on each product, fillers can support worktops, cornices, deco strips, etc. like any cabinet.
The customer can edit the dimensions of the filler to specify exactly the wished width, height or depth. The depth is the one of the transparent box, thus the distance from the front piece to the back wall. Depth and height may be predefined in a drop-down list to help the customer select a size that adapts to the adjacent cabinet.
Below are the illustration of all the possible options for each type of filler.
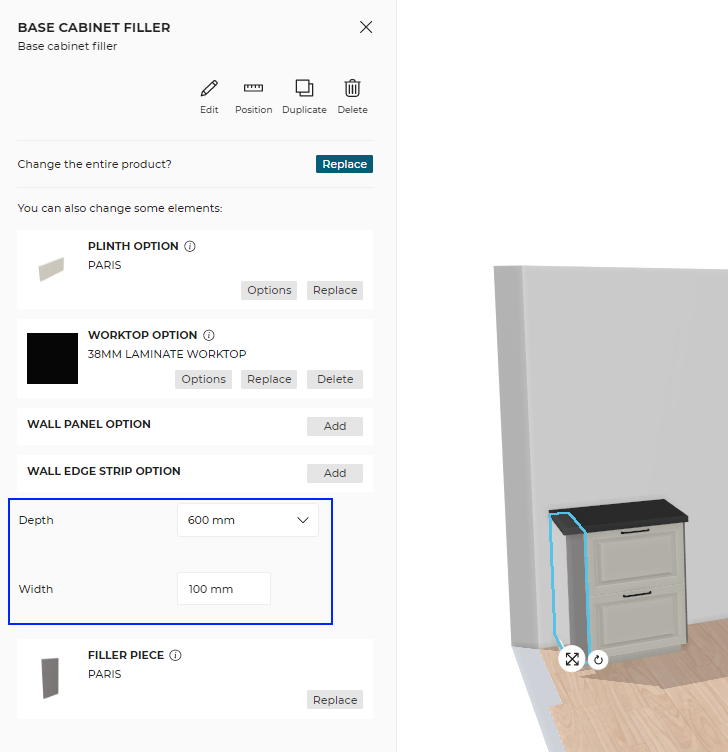
Base Cabinet Filler
Fillers have predefined dimensions that the customer can change.
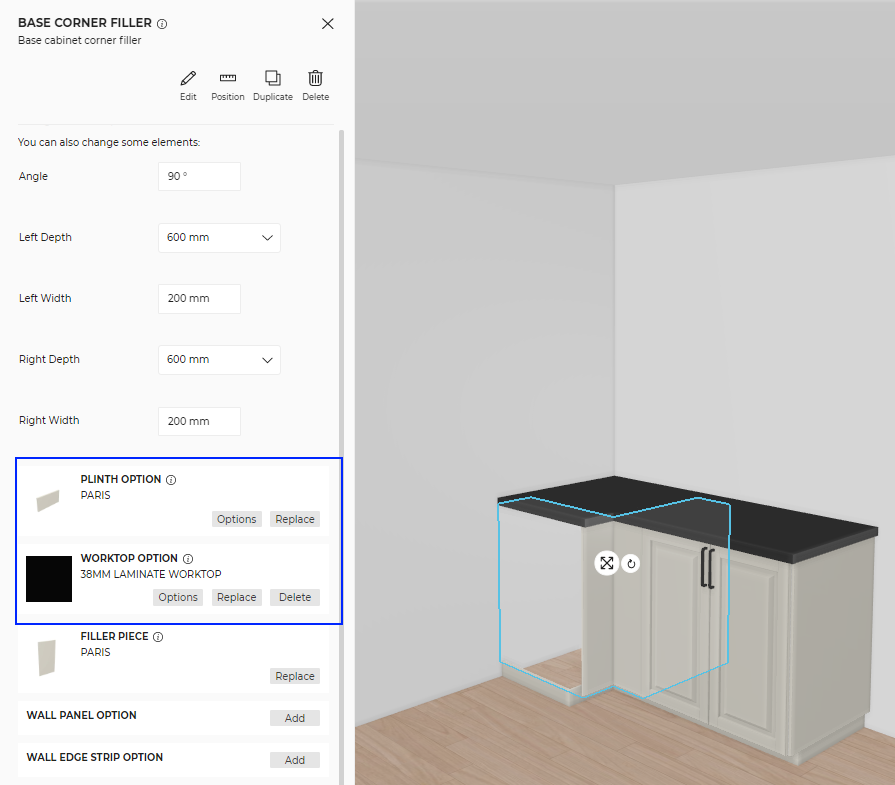
Base Corner Filler
The worktop and the plinth are extended to the base corner filler.
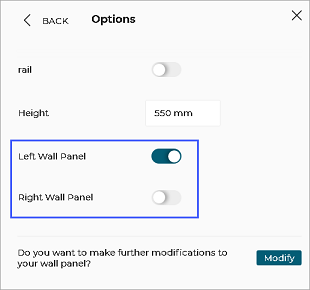
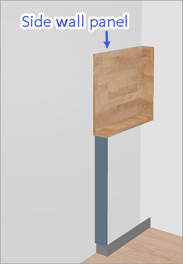
Side Wall Panels
⚙️ Set up: 'leftWallPanel' and 'rightWallPanel' parameter
Wall panel can be added to the side wall of the base cabinet filler and base corner filler. It can be right wall, left wall or both the walls next to base cabinet/corner filler. These wall panels are enabled by selecting Left Wall Panel and Right Wall Panel.
By default, the side wall panels are deactivated.
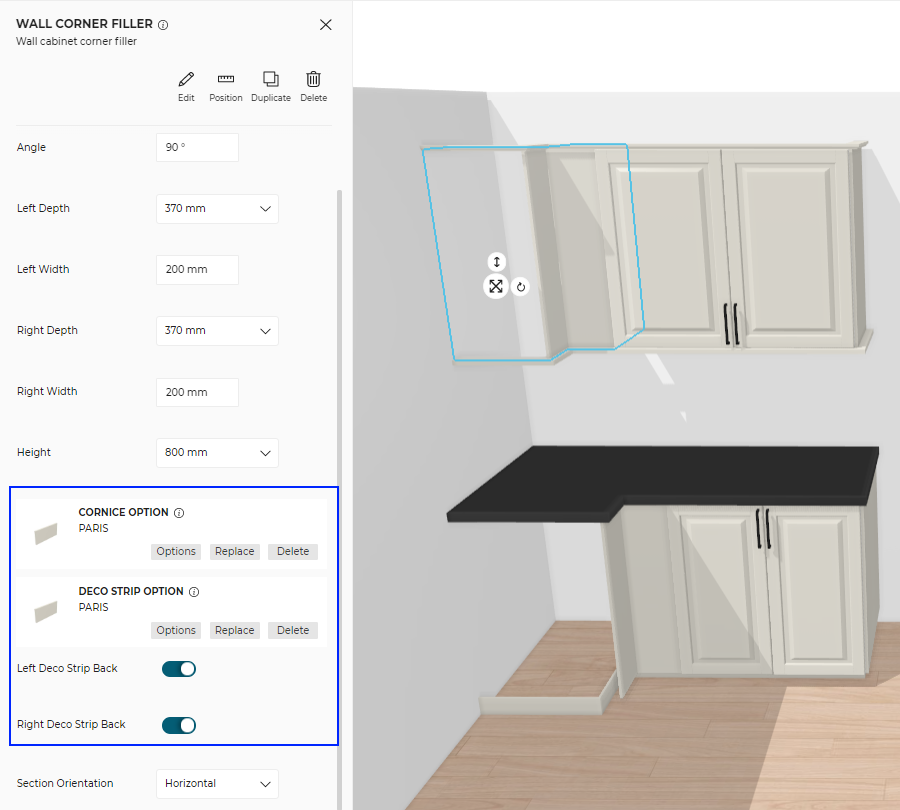
Wall Corner Filler
Fillers can have cornices and decostrips with the same options as any other corner wall cabinet.
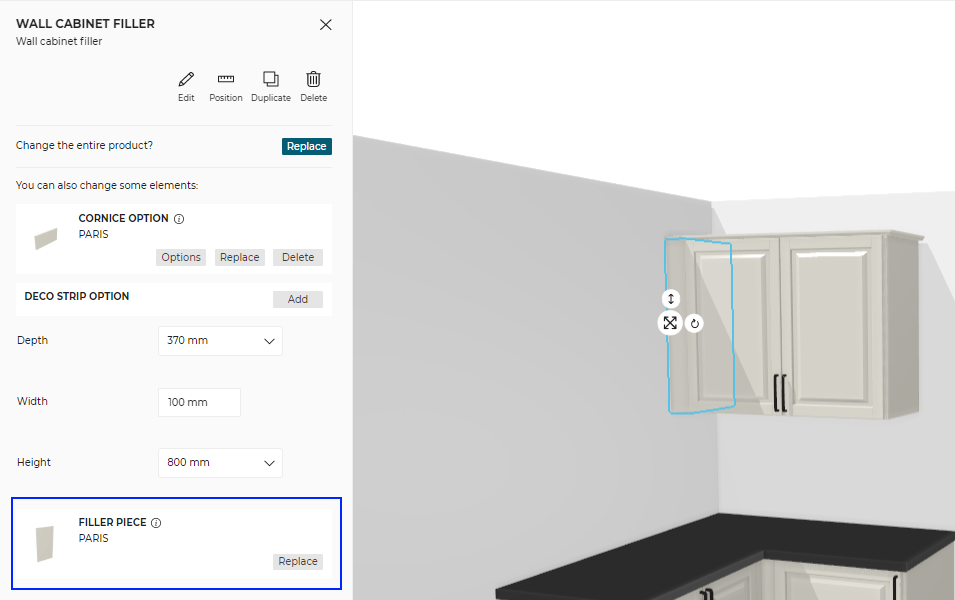
Filler for Wall Cabinets
The customer can change the front piece of the filler.
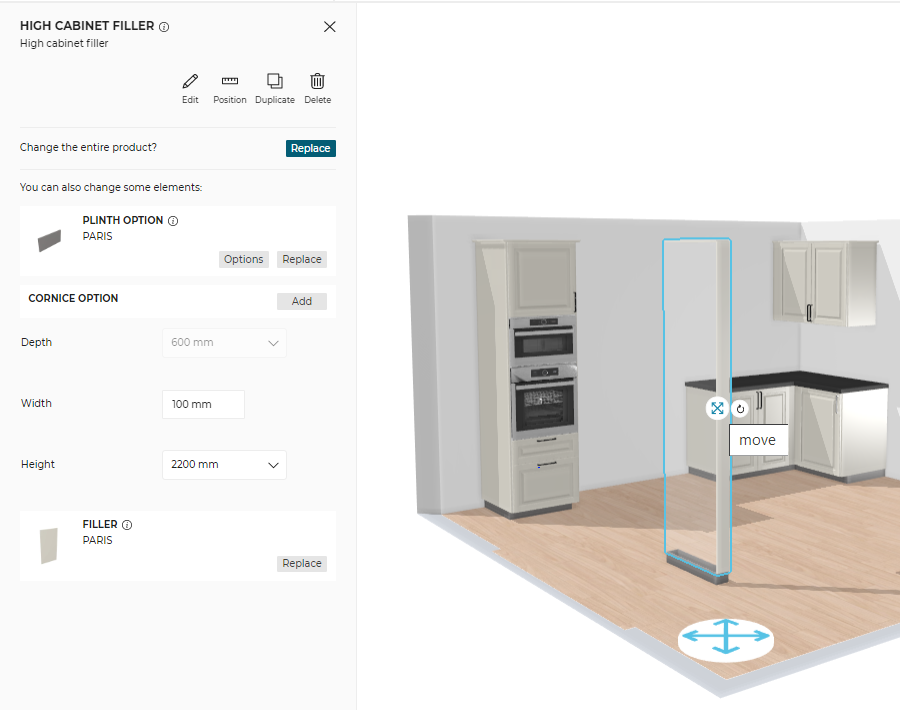
Filler for High Cabinets
The customer can move and rotate fillers to place them in the room adequately.
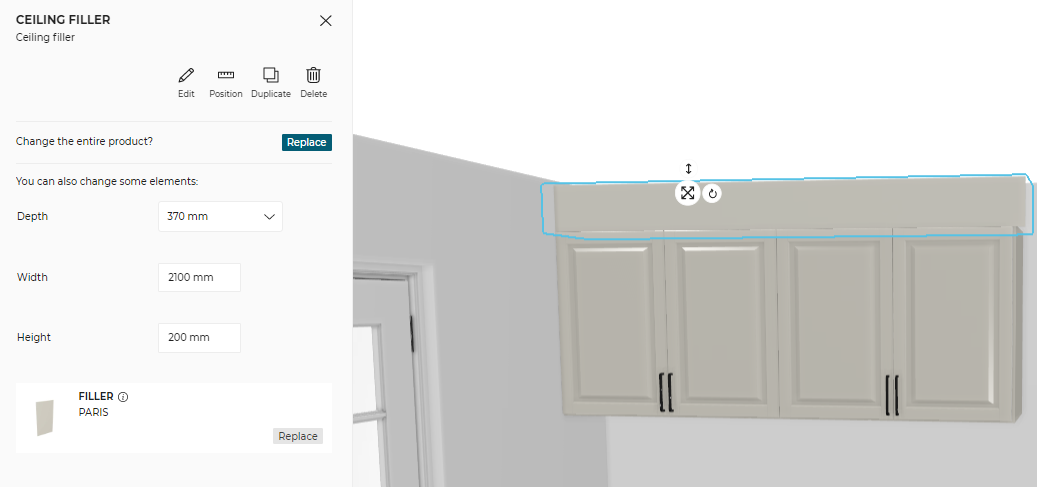
Fillers for Ceilings
The customer can hide the space above a wall cabinet to the ceiling with a filler. This filler type is predefined as horizontal.
Possible Result in the Item List
Like all the illustrations in this page, this is a BRYO sample
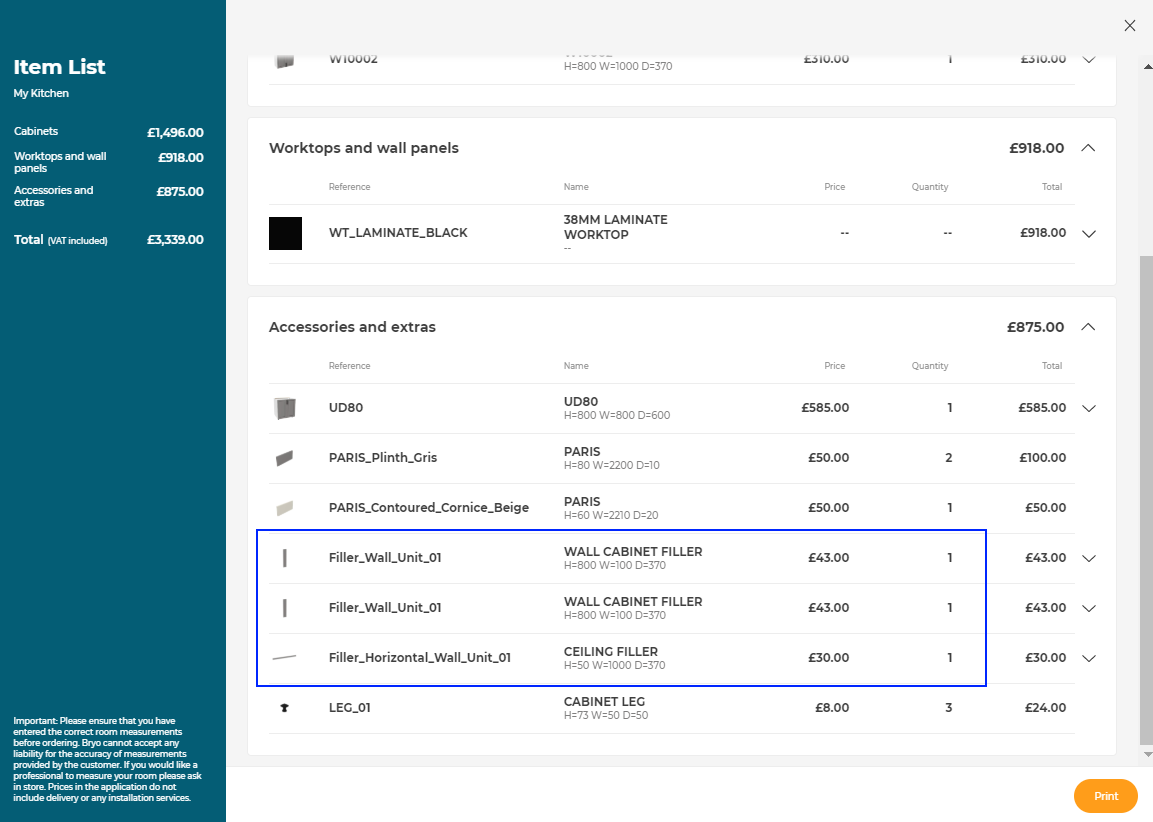
Depending on the customer's choices all products are priced separately and visible in the item list.
