Editing Plinth
In the kitchen planner, the bottom of base, corner and high cabinets is enhanced by default with a plinth, that comes in addition to the legs. This plinth option is editable by the user via the Edit panel of the cabinet.
Any modification on the plinths must be prepared beforehand by the Range Manager to ensure the expected behavior.
➡️ See Set Up Plinths 🔗 or Set Up Plinths through API 🔗 for detailed information on this preparating work.
➡️ See Define Plinth Position 🔗 for detailed information on how to place a plinth on a cabinet.
Basic Actions and Options
Each plinth product has its own shape (defined by the section BMA) and material resources. By choosing the product, the user chooses which combination is applied on the cabinet.
⚙️ Set up: Parameter plinthPositionType 🔗 on the products and plinthOption 🔗 on the cabinets.
This option allows you to edit, replace, or delete the plinth/leg from the cabinet.
Click on the cabinet and select the Edit option, the edit panel is displayed, as shown below:
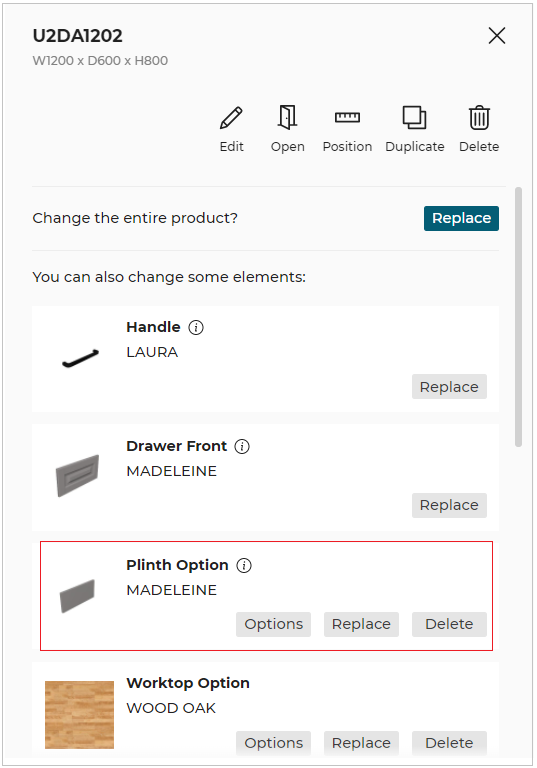
Plinths are automatically added to any cabinet which is placed on the floor of the room.
Replace a Plinth
➡️ See the Applicative Rule PlinthLegRule 🔗 to create a mapping between plinth products and leg products.
The user cannot delete a plinth, as the legs and plinths are same option but they can be replaced.
To replace the plinth/leg, click the Replace button, the catalog with the list of available matching plinths/legs products are displayed, as shown below:
The applied plinth material is highlighted at the top of catalog.
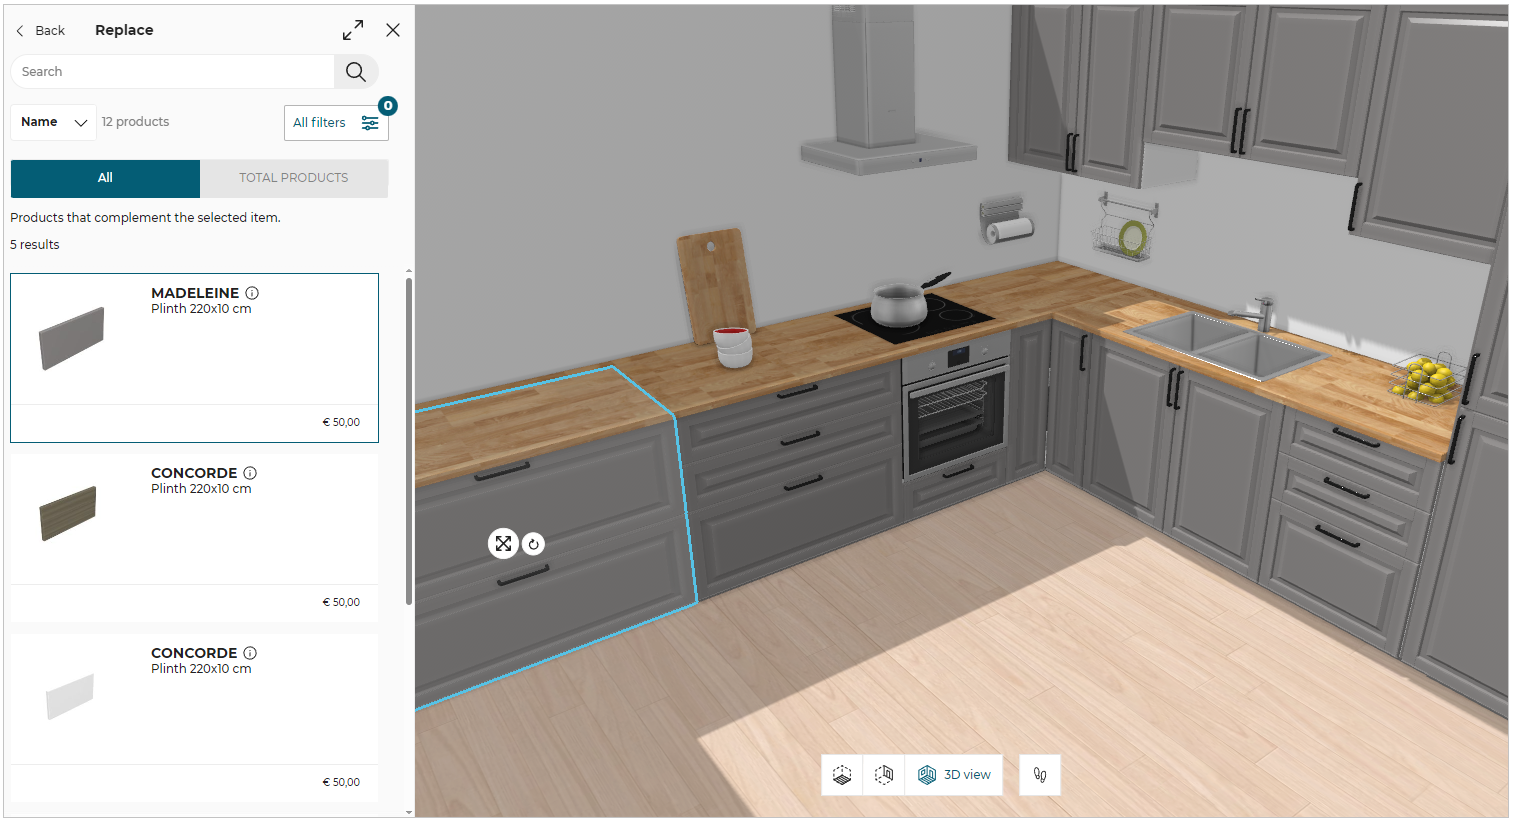
When replacing a plinth for a cabinet, the user has the possibility to apply the change to the whole linears in the room, or just to the selected cabinet. This ensure consistency to the design.

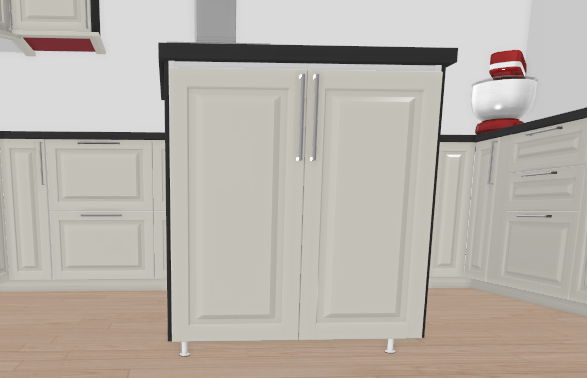
You can replace the plinth with a stand-alone leg.
Remove a Plinth
To remove the plinth from the cabinet, click the Delete button of the Plinth option.
The plinth has been removed/ deleted from the cabinet, as shown below:
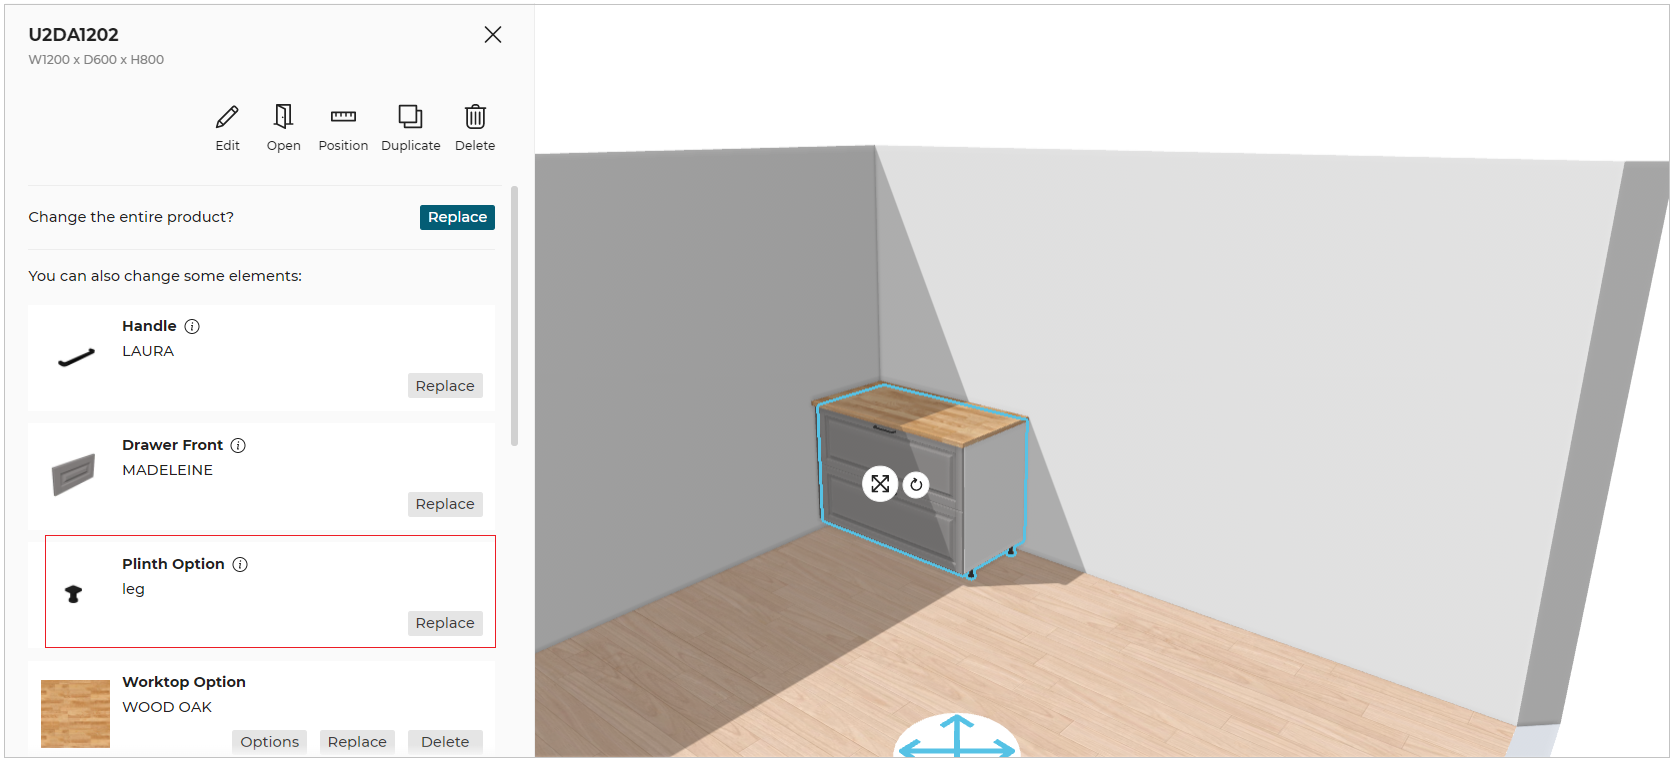
Click the Replace button to replace the legs of the cabinet.
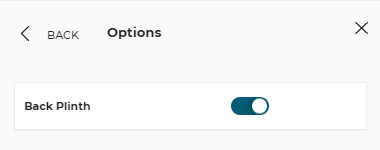
The back plinth can be removed from the plinth Options.
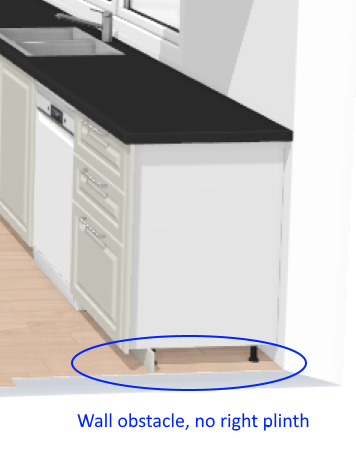
If the back of the cabinet is in contact with the wall, then the back plinth is disabled since there is no place for it.
For more information, please refer backPlinth 🔗.
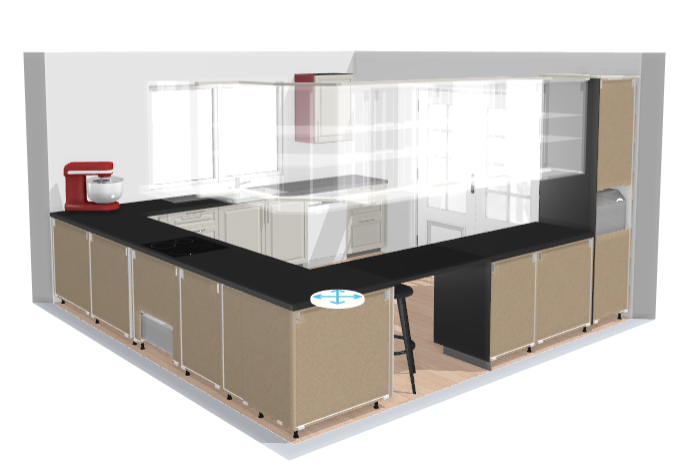
To hide/show the back plinth, select the toggle button of the Back Plinth Options, as shown below:
Position a Plinth
Each plinth product also has its own position, managed by the plinthPositionType parameter and the bottom paths 🔗 defined on the cabinet.
By default, the plinth is generated on all the sides of the cabinet, except if a side is adjacent to another cabinet or is in contact to a wall.
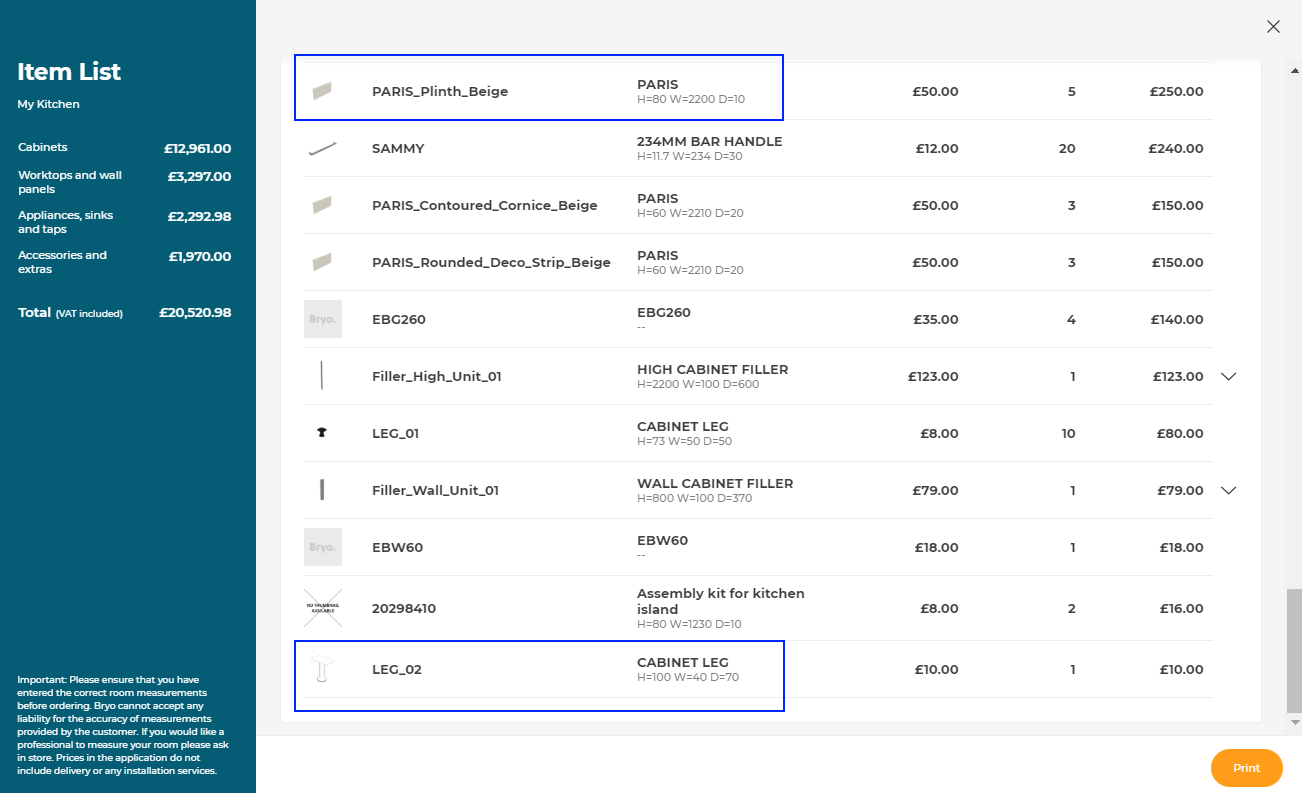
Possible Result in the Item List
Like all the illustrations in this page, this is a BRYO sample
Depending on the customer's choices all the products are priced separately and visible in the item list. The pricing of plinths is based on "linear" method 🔗
Adding Plinth to the Wall cabinet
If the position of the wall cabinet is less than 300 mm from the floor surface, the plinth can be added to the wall cabinet.
To add the plinth, select the wall cabinet and click the Edit option.
The edit panel is displayed, as shown below:
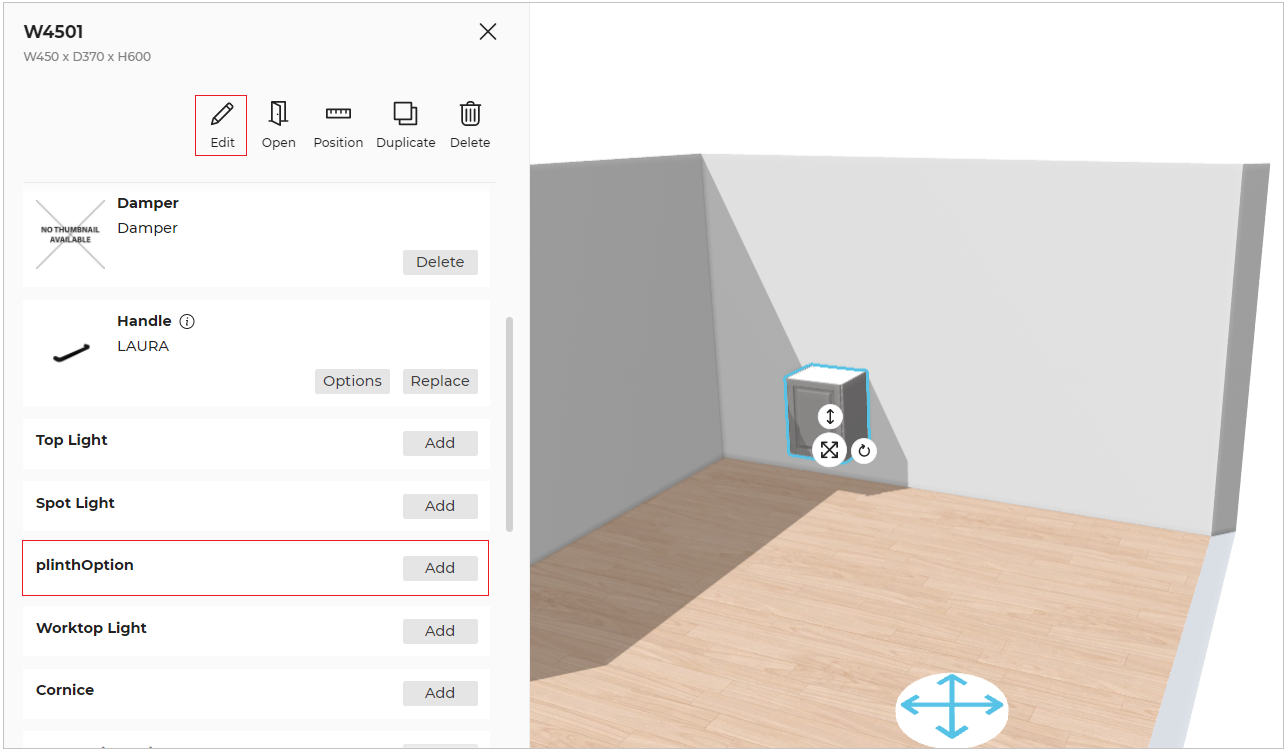
Click the Add button from the plinth option.
- If the plinth is added to the wall cabinet and the cabinet height is modified from the floor surface, then the height of the plinth is changed accordingly.
- The altitude of the cabinet is increased more than 300 mm, then the plinth is automatically removed from the wall cabinet.

