Using Kitchen Extras
This section explains steps to add and edit accessories in the kitchen.
Adding Kitchen Accessories
- Click the
 icon, to see available filter options as shown below:
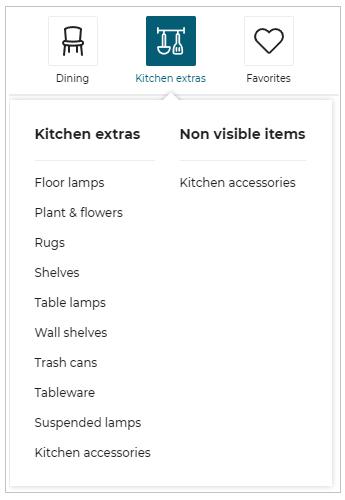
- Click the type of accessory required, for its catalog to display.
Here, Tableware is clicked, to filter the catalog and display only tableware as shown below:
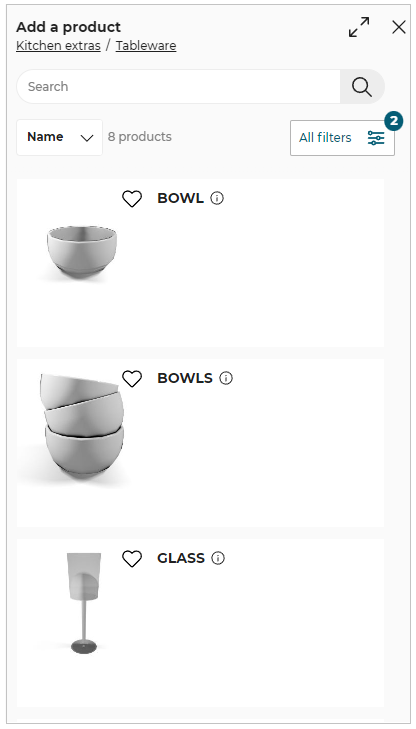
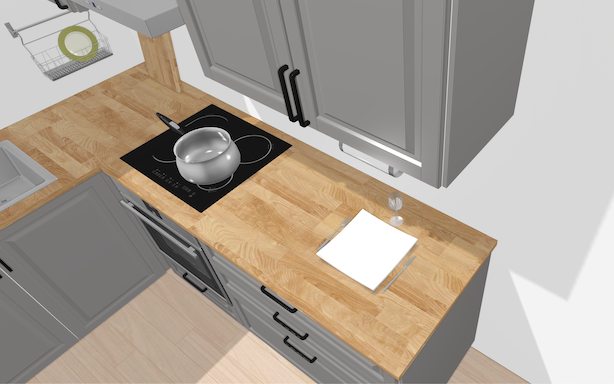
- Click accessory from the catalog to add it in the kitchen.
You can also add the Kitchen extras products in the room by drag and drop them from the catalog.
Product is added to the kitchen as shown below.
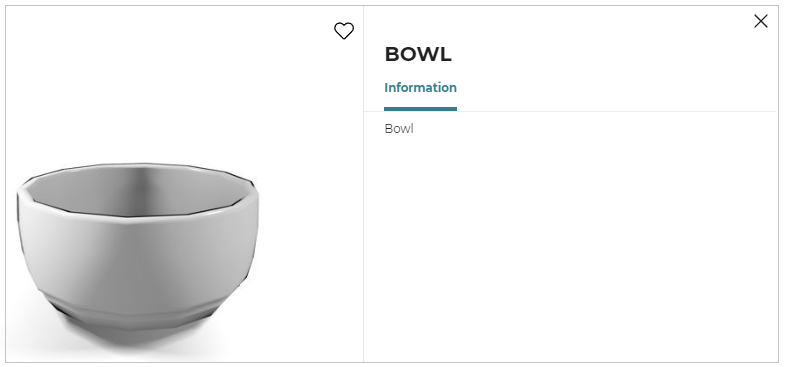
- Click the
 icon, for accessory information.
The information panel appears as shown below:
Editing Kitchen Accesories
On selecting the accessory, toolbar appears as shown below:

| Icon | Function | Description |
|---|---|---|
 | Edit | Lists editing options. Editing options vary with products. |
| Zoom To | Zoom to the selected product. | |
| Duplicate | Duplicate the selected product. The orientation of the duplicate product is consistent with the existing product. | |
| Undo | Deletes the selected product. |
Some of the dining product editing options are as follows:
Replace entire product: Provides options of similar products to replace the entire product.
Add: Adds feature in accessory.
Delete: Removes the feature from accessory.
Options: Provides additional options regarding dimensions, side and so.
Adding Non-visible Items
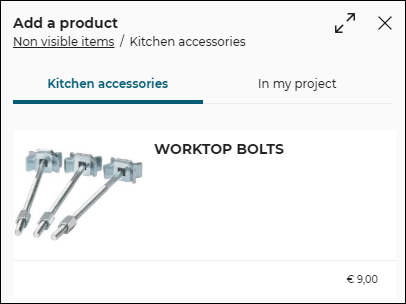
- To add non-visible items to the room, click the type of the non-visible items required from Non visible items list.
The list of items appears, as shown below.
- Click item from the catalog, adjust the quantity of items required as shown below.
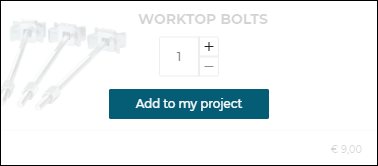
Click Add to my project, items are added to the room.
On adding the item to room, a notification is displayed as shown below.
![]()
Editing Non-visible Items
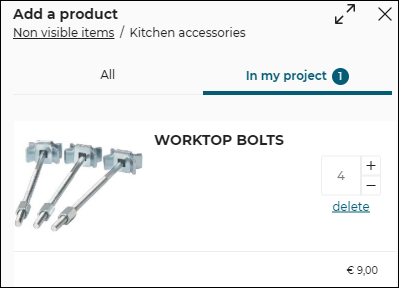
On clicking Non visible items, click In my project tab, list of items appears, as shown below.
Total number of items (count) will be mentioned beside "In my project".
 Increase: Increases the number of item.
 Decrease: Decreases the number of item.
 Delete: Deletes the item from the list.
Points to remember:
- No new item can be added from "In my project" tab, only the list can be updated.
- In case of expired products:
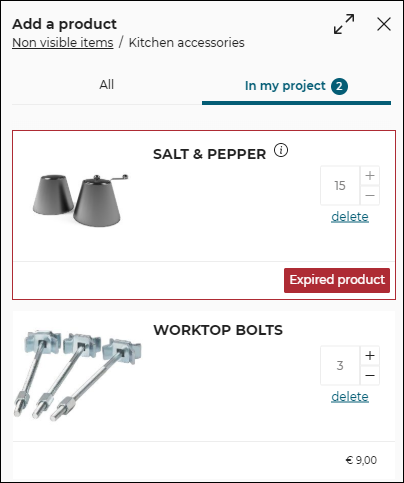
- Items in "in my project" tab are sorted such that expired products are always on top allowing users to delete them.
- The expired item will be highlighted in red, in "In my project" tab with an "Expired Product" label, as shown below.
Also, the expired items cannot be increased or decreased in quantity, all these features will be disabled.
- Expired product notification will be displayed in Help center, as shown below.
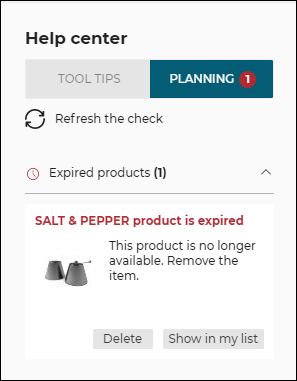
Click Delete to delete the item from the list.
Click Show in my list to view item in "In my project" tab.
- No non-visible item can be replaced, they can be added or deleted.