Editing Deco Strip
In the kitchen planner, wall cabinets can be enhanced with a deco strip, which is the equivalent of a bottom cornice. The deco strip option is editable by the customer via the Edit panel of the cabinet.
Any modification on the strips must be prepared beforehand by the Range Manager to ensure the expected behavior.
➡️ See Set Up Decoration Strips 🔗 or Set Up Decoration Strips through API 🔗 for detailed information on this preparating work.
➡️ See Define Decoration Strip Position 🔗 for detailed information on how to place a deco strip on a cabinet.
Basic Actions and Options
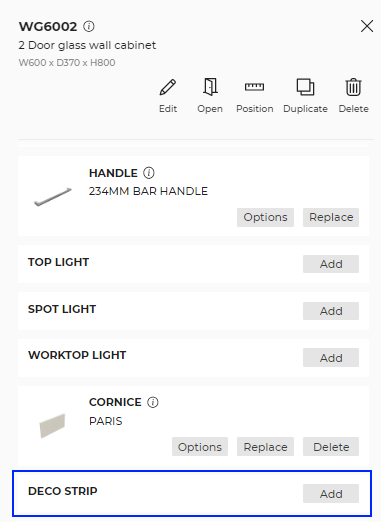
The basic actions regarding deco strips are available by clicking the wall cabinet on the scene and then the Edit icon. They allow the customer to add a decoration strip and then edit it.
Add a Deco Strip
⚙️ Set up: Material and dimension parameters
Adding (or replacing) a deco strip is accessible via the Edit panel of the wall cabinet.
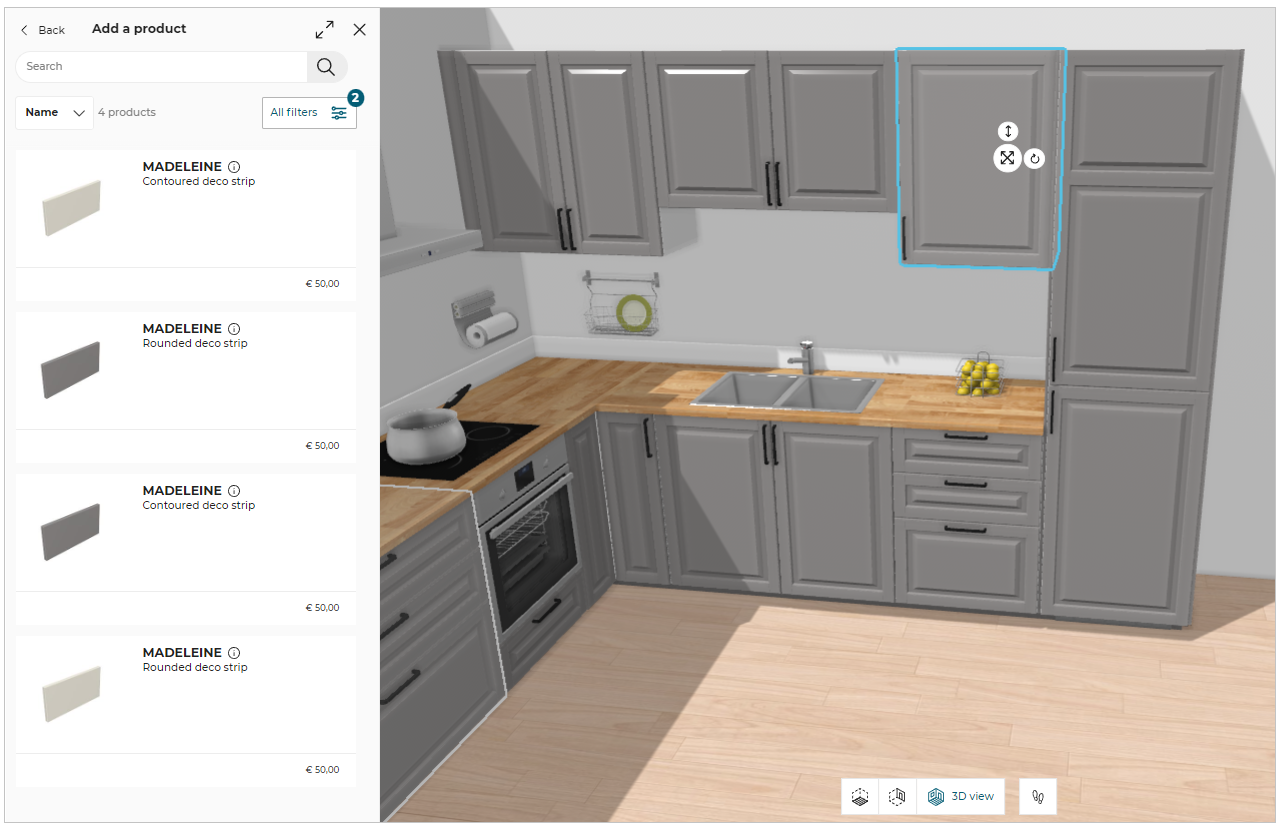
Each deco strip product has its own shape (defined by the section BMA) and material. This means that, for the same shape with different colors it is highly recommended to create different products.
By choosing the product, the customer chooses which combination is applied on the cabinet.
Default Position
⚙️ Set up: 'decostripOption', 'leftDecoStripBack' and 'rightDecoStripBack' parameters on the cabinet
By default, the deco strip is automatically generated on the bottom front edge of the wall cabinet, and the return to the left and right sides is deactivated.
The cornice is generated along the narrow bottom path 🔗 defined on the cabinet.
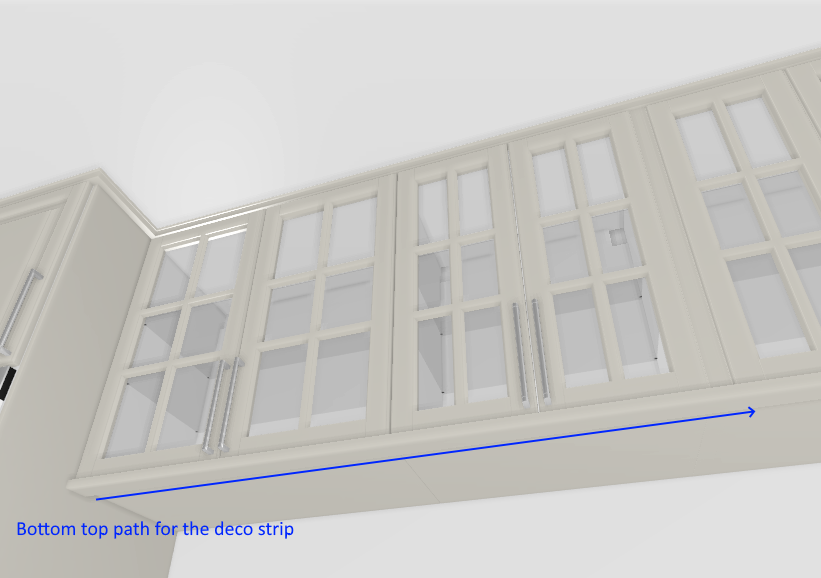
It is possible to manually activate the return of the deco strip on the sides, in this case the size and the position of the side panels are recalculated and updated.
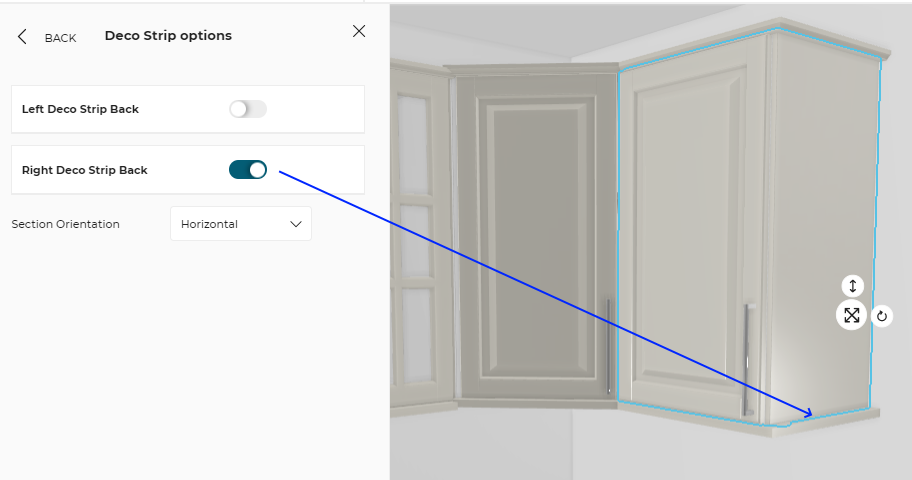
Deco Strip Orientation
⚙️ Set up: 'decostripHorizontalSection' and 'decostripVerticalSection' parameters on the product, 'sectionOrientation' parameter on the cabinet
The orientation of the deco strip is also defined in the section BMA.
The customer can choose manually the orientation of the deco strip in the cabinet Edit panel. By default, the deco strip is oriented horizontally.
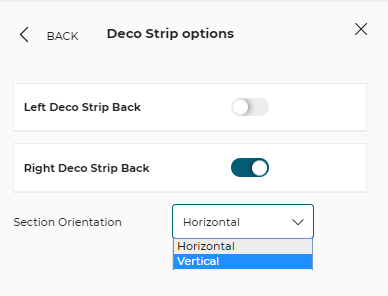
If the customer changes the orientation to vertical and the deco strip return to the side is deactivated on the left and/or the right, then the size and the position of the side panels are recalculated and updated.
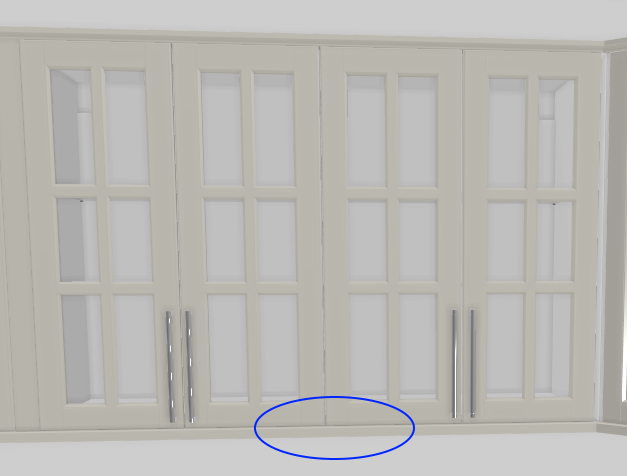
Deco strips are also updated depending on the position of the cabinet into a linear. Two adjacent cabinets will merge deco strips if aligned.
Compatibility and Rules
Some rules manage the activation/deactivation of the deco strip:
- The deco strip return is automatically removed if the cabinet is in contact with a wall or if a filler strip is activated.
- The deco strip is automatically removed if the front of the wall cabinet is modified (new door front.)
➡️ See also the Global Style parameter 'linearStyle' 🔗
➡️ See the Applicative Rules RemoveCorniceAndDecoStripOnFrontModified 🔗
When the worktop light width equals the cabinet width, it is impossible to add side deco strips. To manage such incompatibility, it is recommended to create a product rule to combine worktop lights and left/right deco strip back.
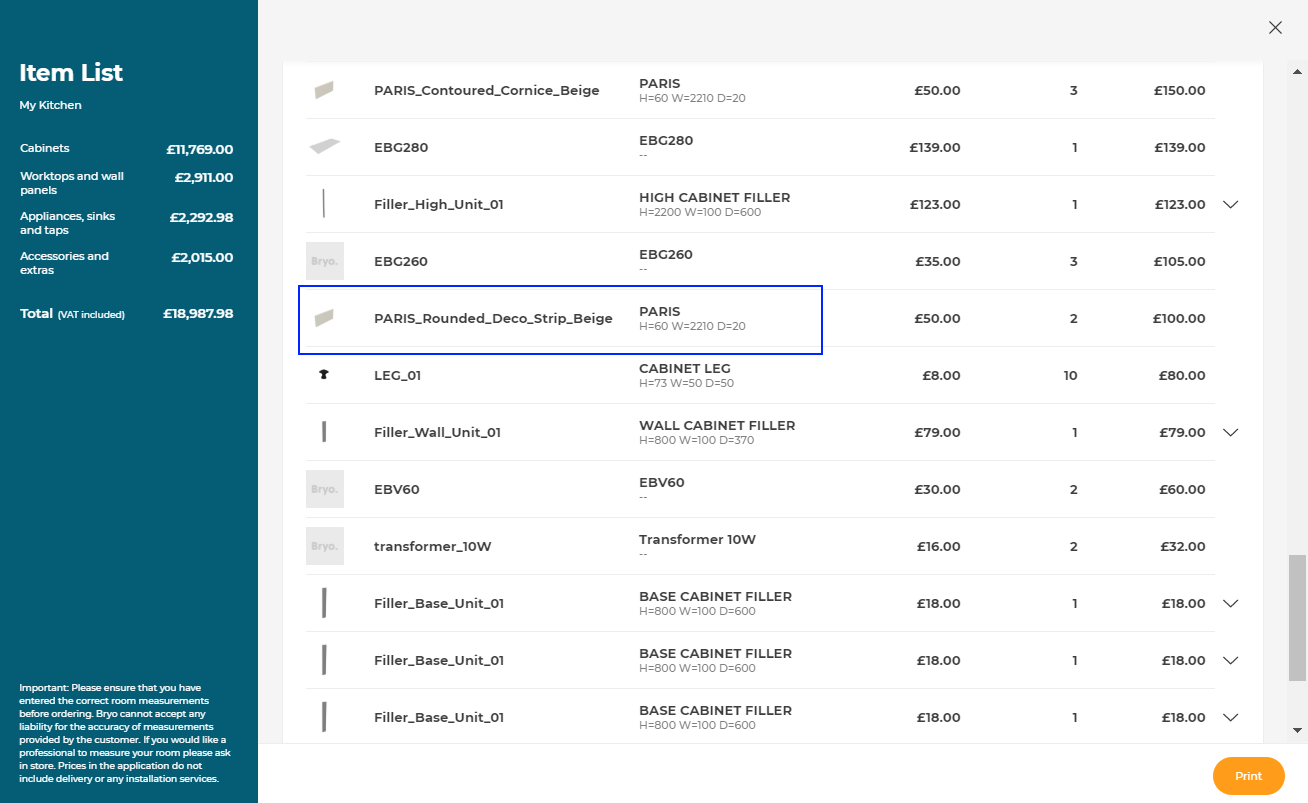
Possible Result in the Item List
Like all the illustrations in this page, this is a BRYO sample
Depending on the customer's choices all products are priced separately and visible in the item list. The pricing of deco strips is based on "precut" method 🔗, which means by measuring the total length of the deco strips divided by the price of one product.
