Editing Wall Edge Strip
In the kitchen planner, base and corner cabinets which back side is in contact with the wall can be enhanced with a wall edge strip instead of a wall panel. This Wall edge strip option is editable by the customer via the Edit panel of the cabinet.
Any modification on the strips must be prepared beforehand by the Range Manager to ensure the expected behavior.
➡️ See Set Up Wall Edge Strips 🔗 or Set Up Wall Edge Strips through API 🔗 for detailed information on this preparating work.
➡️ See Define WallEdge Strip Position 🔗 for detailed information on how to place a wall edge strip on a cabinet.
Basic Actions and Options
There are not many actions to perform on the strips via the Edit panel: it is limited to add, resplace or delete. Ooperations on edges are performed via the Wall Edge Strip Editor.
Add a Wall Edge Strip
⚙️ Set up: Material parameter, 'wallEdgeStripType' and 'sectionType' parameters
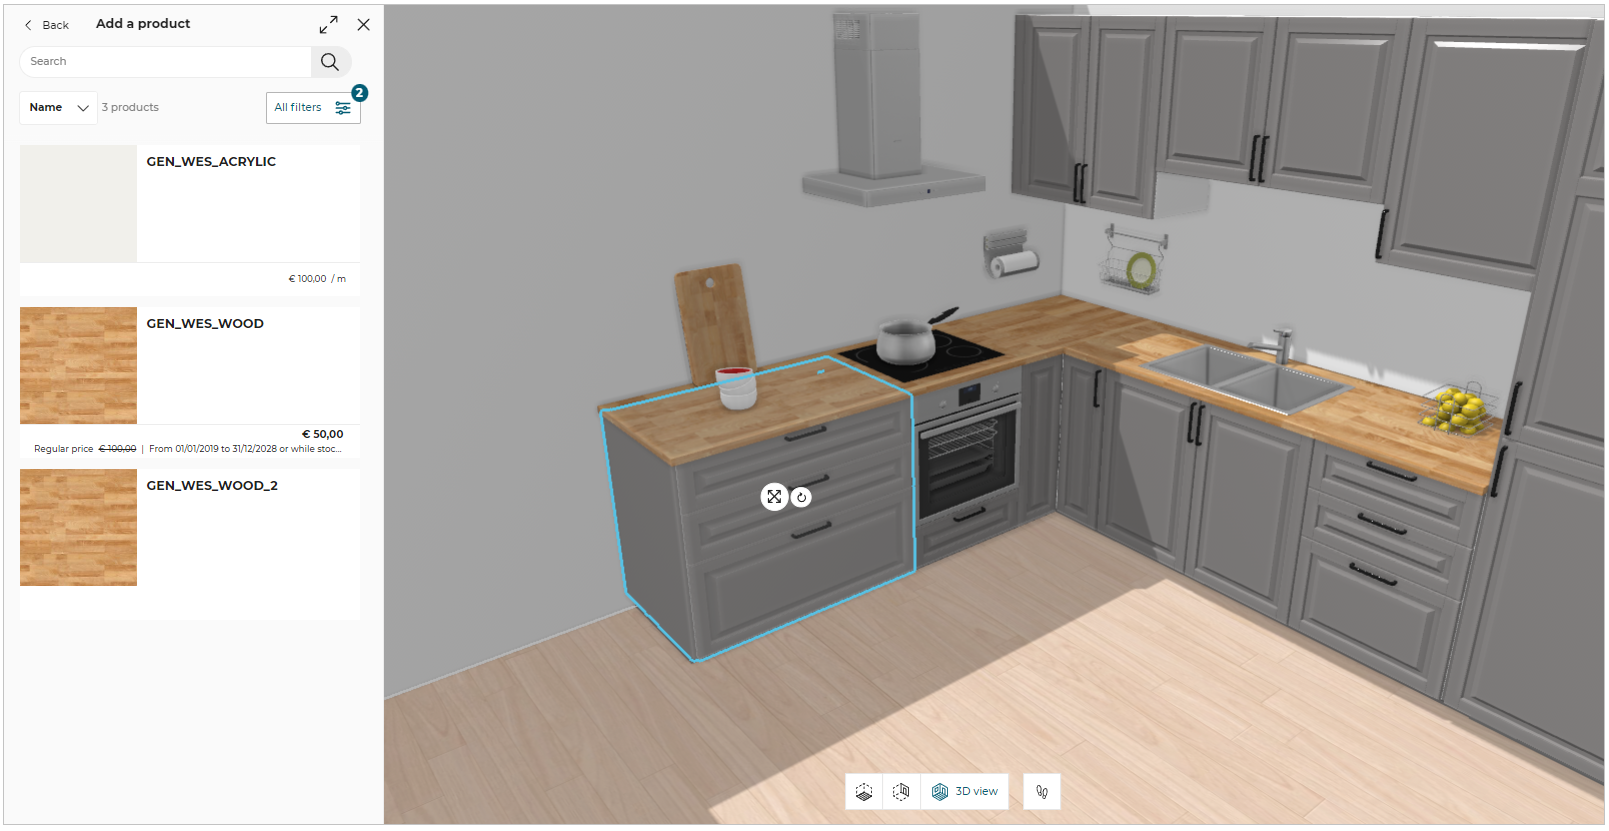
Adding (or replacing) a wall edge strip is accessible via the Edit panel of the cabinet.
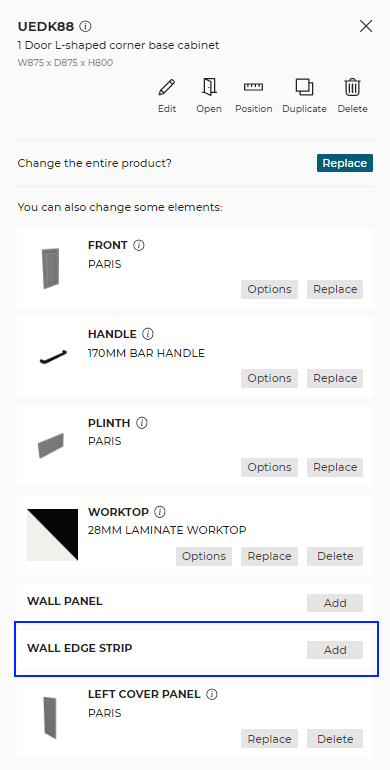
Each wall edge strip product has its own shape (defined by the section BMA) and color. This means that, for the same shape (e.g. rectangular) with different colors it is highly recommended to create different products. By choosing the product, the customer also chooses the type of the strip from precut to custom strip.
Default Position
⚙️ Set up: 'wallEdgeStripOption' parameter on the cabinet
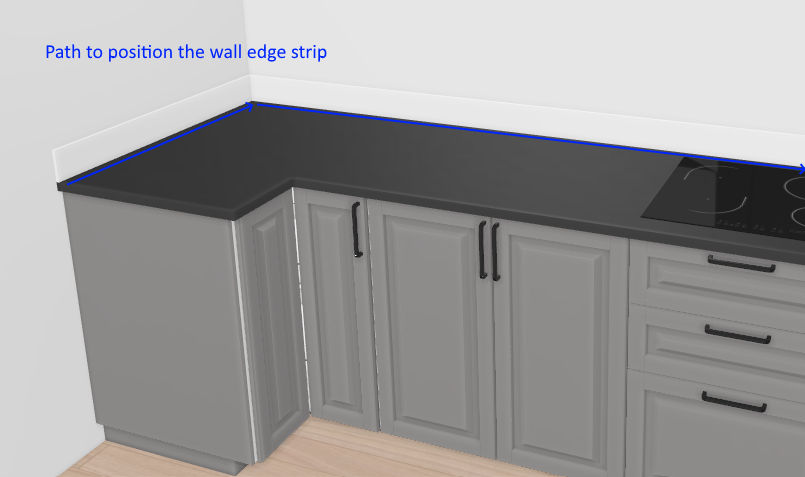
By default, the wall edge strip is automatically generated at the intersection between the cabinet worktop and the wall. If the back of the cabinet is not in contact with a wall the wall edge strip cannot be generated. The wall edge strip is generated along the outter path 🔗 defined on the cabinet for the worktop.
Replace Wall Edge Strip
To replace the Wall Edge Strip on the cabinet:
Click the cabinet, the edit panel is displayed.
Click the Edit option to open cabinet properties.
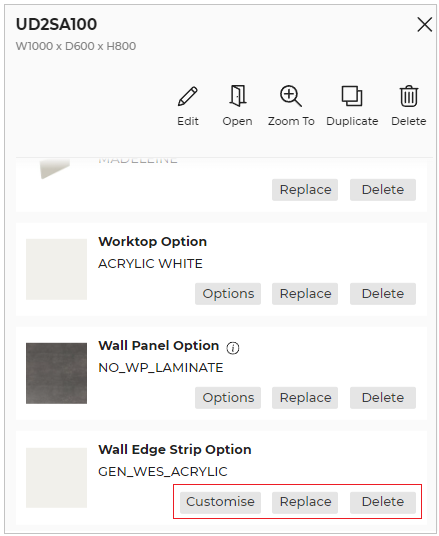
- Select the Replace option from the Wall Edge Strip option in the edit panel, the catalog is displayed, as shown below:
The applied wall edge strip is highlighted at the top of the catalog.
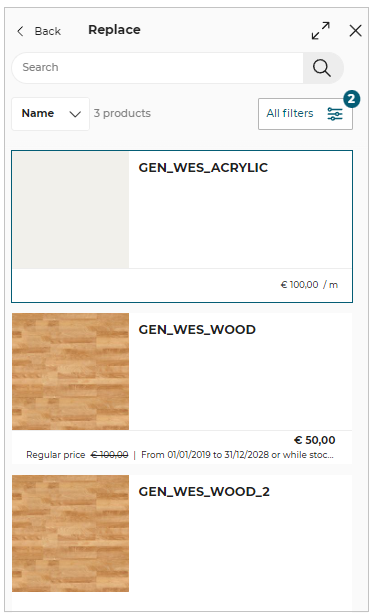
Options for Replace:
Apply to all linears: It changes the feature for all the linears.
Apply to the selected linear: It changes the feature for the selected linear.
- Select the Wall Edge Strip from the catalog, choose between Apply to all linears or Apply to the selected linear, to replace the Wall Edge Strip on the cabinet.
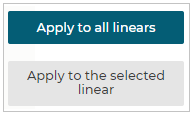
Apply to all linearsandApply to the selected linearoptions are only be available when replacing Worktop, Wall edge strip, Cornice, Deco strip or Plinth/Leg of the cabinet.
Also, these options will be available when there are more than one linear in the kitchen.
Advanced Options via the Wall Edge Strip Editor
By clicking the Customise button from the wall edge strip Options the customer accesses the Wall Edge Strip Editor.
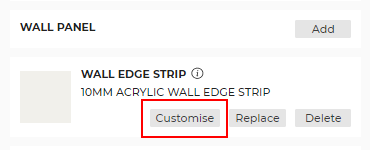
The Wall Edge Strip Editor gives a 2D view of the project that allows the customer to:
- Generate a "return" strip
- Edit the edges
Wall edge strips are formmatted in light brown and edges without a strip are formatted in blue.
Return Strip
For custom type strips only. Uses the paths defined on the cabinet.
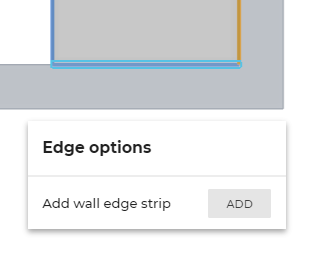
The customer can generate a return strip on the right or left of the cabinet by clicking a blue edge and then the Add button. If the cabinet is not in contact with a wall the strip is not generated.
📌 Fillers are considered as cabinets and the return strip will be generated in this case.
Edge Finishing
⚙️ Set up: 'edgeCompatibility' parameter
For custom type strips only.
The customer can edit any edge strip to change or remove the edge finishing.
To change or remove the edge finish product, click on the wall edge strip, Wall edge strip options window will appear as shown below:
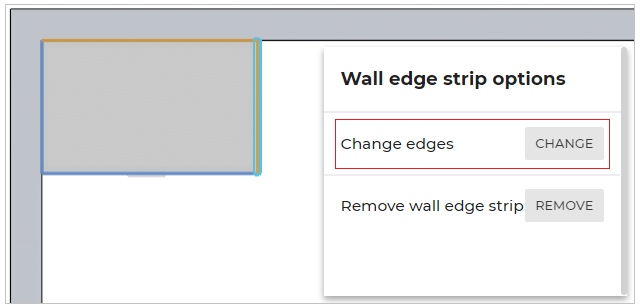
From the Wall Edge Strip options window, click CHANGE to change the edges finish.
Compatible edges are listed on wall edge strip product level.
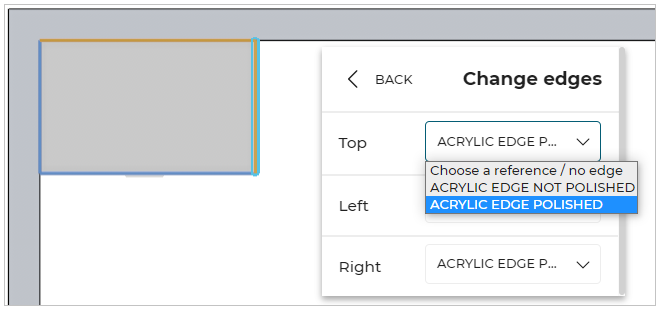
To change the edge finish, select the desired edge finish product from drop down menu.
To remove the edge finish, select Choose a reference/ no edge option from drop down menu.
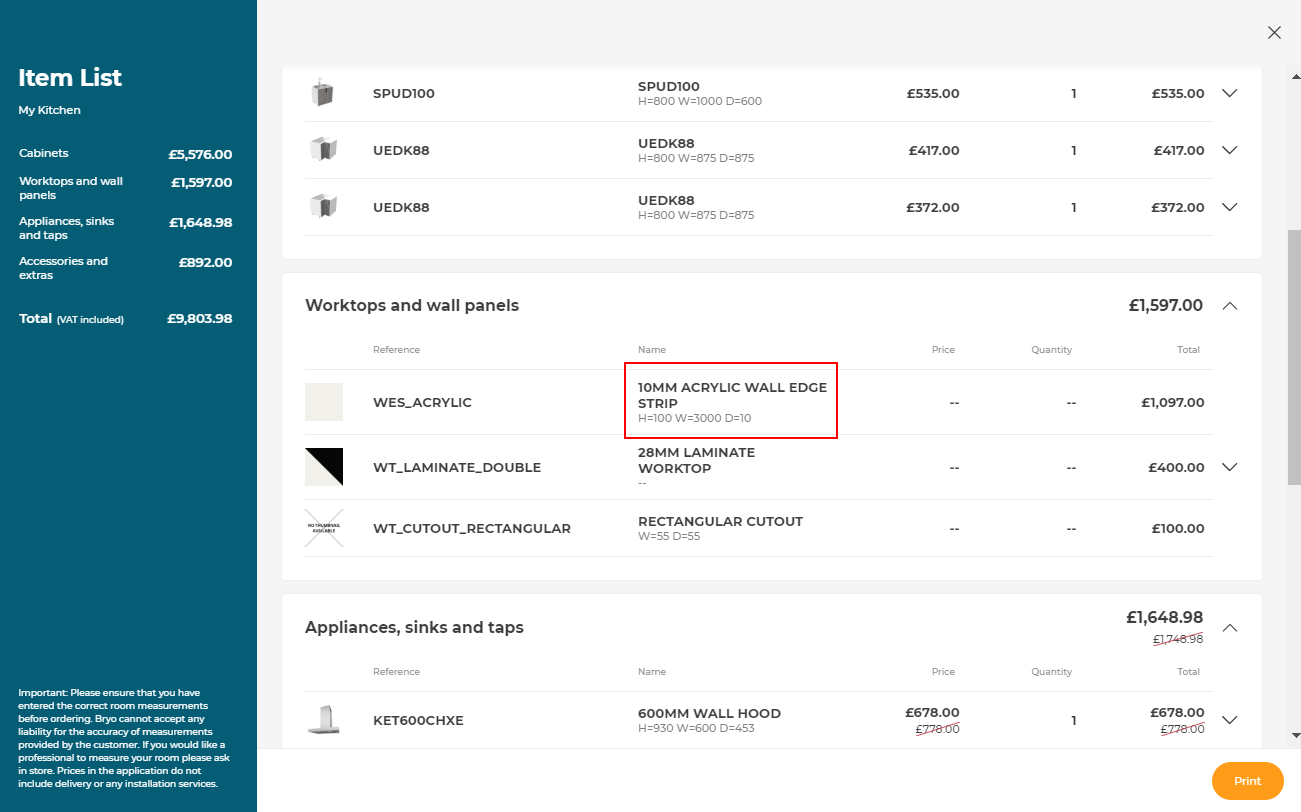
Possible Result in the Item List
Like all the illustrations in this page, this is a BRYO sample
Depending on the customer's choice, all products are priced separately and visible in the item list.
